👉Introduction
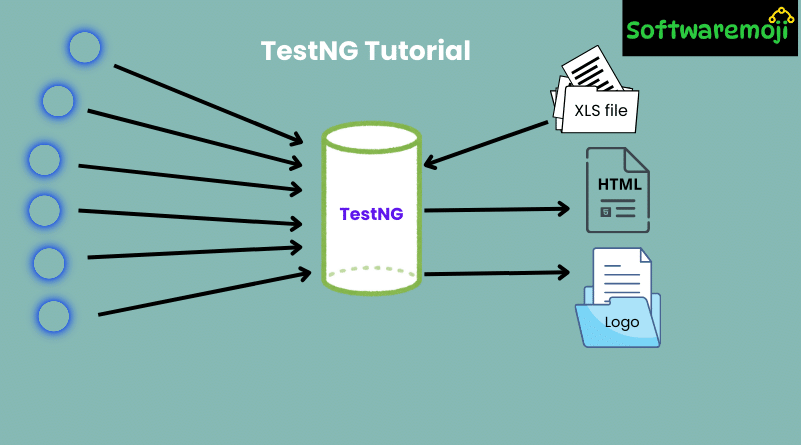
TestNG Tutorial: TestNG Tutorial – Annotations & Framework in Selenium: TestNG (Test Next Generation) is a powerful automation testing framework inspired by JUnit. It provides advanced functionalities like parallel execution, test grouping, and detailed reporting, making it a preferred choice for Selenium testers.
In this tutorial, you will learn:
✔ What is TestNG?
✔ How to use TestNG in Selenium?
✔ Annotations in TestNG
✔ Advantages of TestNG over JUnit
✔ How to create and run TestNG test cases
👉What is TestNG?
TestNG Tutorial: TestNG is a testing framework designed to overcome JUnit’s limitations. It provides:
✅ Better test reporting
✅ Parallel execution of test cases
✅ Support for data-driven testing
✅ Grouping and prioritizing test cases
Unlike traditional Java programs that use the main() method, TestNG allows structured testing with annotations.
Example: Why Use TestNG?
TestNG Tutorial: Imagine you have five test cases. If one fails, you may want to rerun only the failed test. In JUnit, you must rerun all test cases. But with TestNG, you can run only failed tests using the testng-failed.xml file.
👉Why Use TestNG with Selenium?
Key Features of TestNG in Selenium:
✔ Detailed Test Reports – View test case execution details, including passed, failed, and skipped tests.
✔ Grouping Test Cases – Organize multiple test cases in testng.xml.
✔ Parallel Execution – Run multiple tests without loops using invocationCount.
✔ Cross-Browser Testing – Execute tests on different browsers.
✔ Integration with Tools – Works with Maven, Jenkins, TestNG Maven, etc.
👉Advantages of TestNG Over JUnit
1️⃣ TestNG Tutorial: Easier to Use: Annotations like @BeforeMethod, @AfterMethod are simpler and more intuitive.
2️⃣ Flexible Test Execution: Run selected test cases instead of all.
3️⃣ Parallel Testing: Execute tests simultaneously on multiple browsers.
👉What are Annotations in TestNG?
TestNG Tutorial: Annotations in TestNG help control the execution flow of test methods. They start with the @ symbol and define when and how a test method runs.
Common TestNG Annotations:
| Annotation | Description |
| @BeforeSuite | Runs before all tests in the suite |
| @AfterSuite | Runs after all tests in the suite |
| @BeforeTest | Runs before any test method in the class |
| @AfterTest | Runs after all test methods in the class |
| @BeforeClass | Runs before the first test method in the current class |
| @AfterClass | Runs after all test methods in the current class |
| @BeforeMethod | Runs before each test method |
| @AfterMethod | Runs after each test method |
| @Test | Defines a test case |
👉How to Write Test Cases in TestNG?
TestNG Tutorial: Follow these steps to create and run TestNG test cases in Selenium.
Step 1: Set Up TestNG Project in Eclipse
1️⃣ Open Eclipse and create a new Java project.
2️⃣ Add TestNG Library:
- Click on Libraries → Add Library → Select TestNG → Click Next → Finish.
3️⃣ Add Selenium JAR files from selenium.dev.
👉How to Create a New TestNG Test File?
1️⃣ Right-click on src → New → Other → Select TestNG Class → Click Next.
2️⃣ Enter the test class name (e.g., FirstTestNGFile) → Click Finish.
3️⃣ Eclipse will generate a TestNG template.
👉TestNG Example: Writing a Test Case
TestNG Tutorial: Below is a simple TestNG test case that verifies the homepage title of a website:
java
import org.testng.Assert;
import org.testng.annotations.Test;
import org.openqa.selenium.WebDriver;
import org.openqa.selenium.chrome.ChromeDriver;
public class FirstTestNGFile {
@Test
public void verifyHomepageTitle() {
System.setProperty(“webdriver.chrome.driver”, “path_to_chromedriver”);
WebDriver driver = new ChromeDriver();
driver.get(“https://www.example.com”);
String expectedTitle = “Example Domain”;
String actualTitle = driver.getTitle();
Assert.assertEquals(actualTitle, expectedTitle);
driver.quit();
}
}
Key Takeaways from the Code:
✔ @Test tells TestNG that the method is a test case.
✔ Assert.assertEquals() is used for validation.
✔ No need for main() method – TestNG handles execution.
👉How to Run TestNG Test Cases?
1️⃣TestNG Tutorial: Right-click on the test file → Click Run As → TestNG Test.
2️⃣ View test results in Eclipse Console & TestNG Results Window.
✅ TestNG generates a detailed report showing passed, failed, and skipped test cases.
👉Generating HTML Reports in TestNG
TestNG can create an HTML-based report for better visualization of test results.
Steps to View HTML Report:
1️⃣ Run the test case in Eclipse.
2️⃣ Refresh the project → Look for test-output folder.
3️⃣ Open index.html to view the test report in a web browser.
👉Advanced TestNG Features
1. Running Multiple Test Cases in a Single File
TestNG allows multiple test methods in a single file.
java
@Test
public void testA() { System.out.println(“Test A”); }
@Test
public void testB() { System.out.println(“Test B”); }
TestNG executes them alphabetically unless specified using priority:
java
@Test(priority=1)
public void testB() { System.out.println(“Test B”); }
@Test(priority=2)
public void testA() { System.out.println(“Test A”); }
2. Running Tests in Parallel
Parallel testing improves execution speed.
Modify testng.xml:
xml
<suite name=”ParallelTests” parallel=”tests” thread-count=”2″>
<test name=”Test1″>
<classes>
<class name=”TestPackage.TestClass1″/>
</classes>
</test>
<test name=”Test2″>
<classes>
<class name=”TestPackage.TestClass2″/>
</classes>
</test>
</suite>
👉Conclusion
TestNG is a powerful framework that enhances Selenium testing with annotations, parallel execution, and advanced reporting.
👉Key Benefits of TestNG in Selenium:
✔ Simplifies test execution with annotations
✔ Supports cross-browser and parallel testing
✔ Generates detailed test reports
✔ Easier to group and prioritize test cases
Now that you understand TestNG, start writing your own Selenium TestNG scripts and optimize your automation testing!
TestNG in Eclipse for Selenium
Testing Selenium Download
